Creating a 3D scan in Framer with Depth map tool for free [Tutorial]
This is a Framer tutorial to create cards with a 3D scan effect for your websites. By combining AI image generation and then converting that image into a free depth map, you’ll be able to create amazing effects for your pages.
![Creating a 3D scan in Framer with Depth map tool for free [Tutorial]](https://files.artificialstudio.ai/7333e7a6-ef4a-4866-9b33-0ece9a930f21.webp)
This tutorial is a modified and simplified version of the tutorial created by Framer.University, below you’ll find the link to reuse their Framer template!
1. Create the image with AI
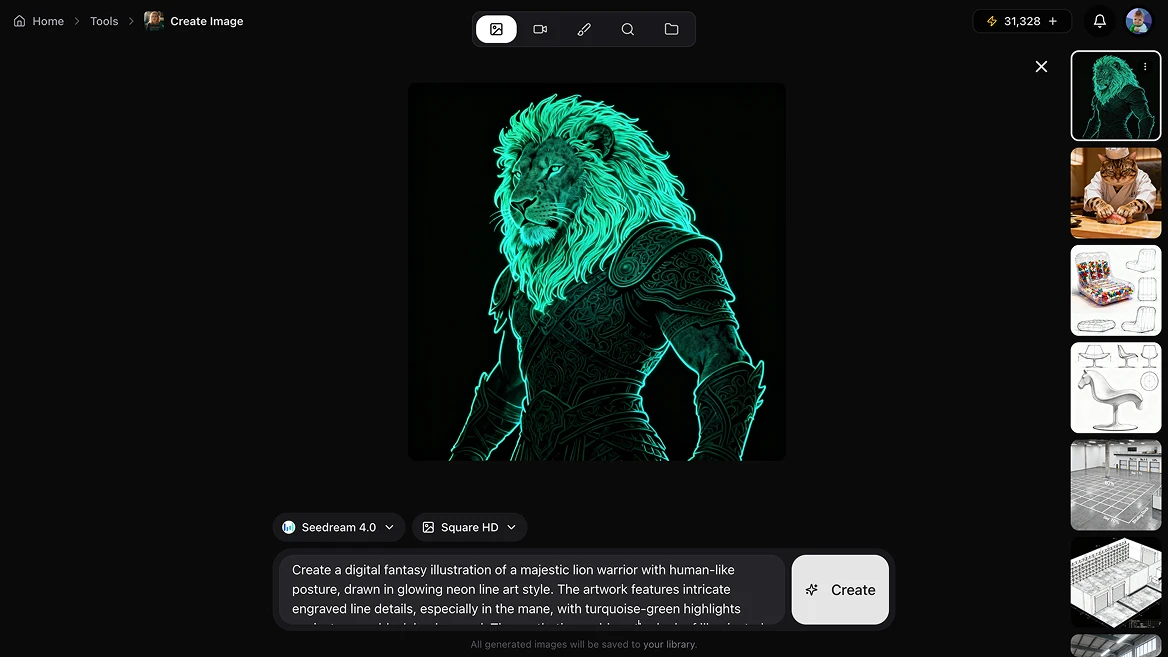
We’ve crafted and refined the perfect prompt that will generate illustrations with this green effect which will later help make the scanning effect look more realistic. For that we’ll use this AI tool with the new image generation model Seedream 4.0. There are 10 other models you can use if you want (and one is free). We’ll use the following prompt which you can edit to change the character:
"Create a digital fantasy illustration of a majestic lion warrior with human-like posture, drawn in glowing neon line art style. The artwork features intricate engraved line details, especially in the mane, with turquoise-green highlights against a pure black background. The aesthetic combines the look of illuminated engraving, neon glow art, and fantasy character design, evoking a powerful and mythical presence."
Wait a few seconds and you’ll have your illustration ready.
If you want to use an existing image, you can edit it with our tool Edit Images and use the Nano Banana model for perfect results by writing prompts like “change the style for a turquoise-green highlights against a pure black background.”
You can also take it into the editing software you use most (like Photoshop or Pixelmator Pro), and edit the values until you get a filter and glow you like.
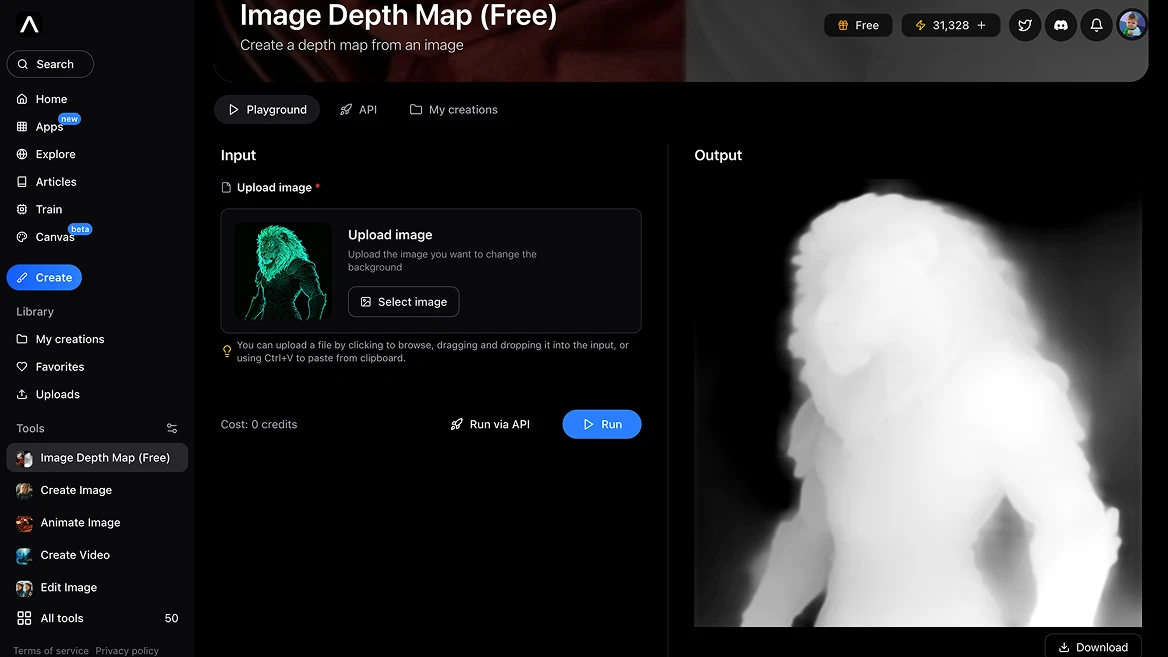
2. Convert the image into a Depth Map with AI (free!)
Using this free tool from Artificial Studio is very simple: just add the image you just created and click the blue Run button. In a few seconds you’ll have a black and white image that a software can use to measure the depth and distance of each element in the image, becoming darker as it gets further away. This will help us create the 3D scan effect in Framer.
That’s all you need to create — easy, right? Now we’ll move directly to Framer.
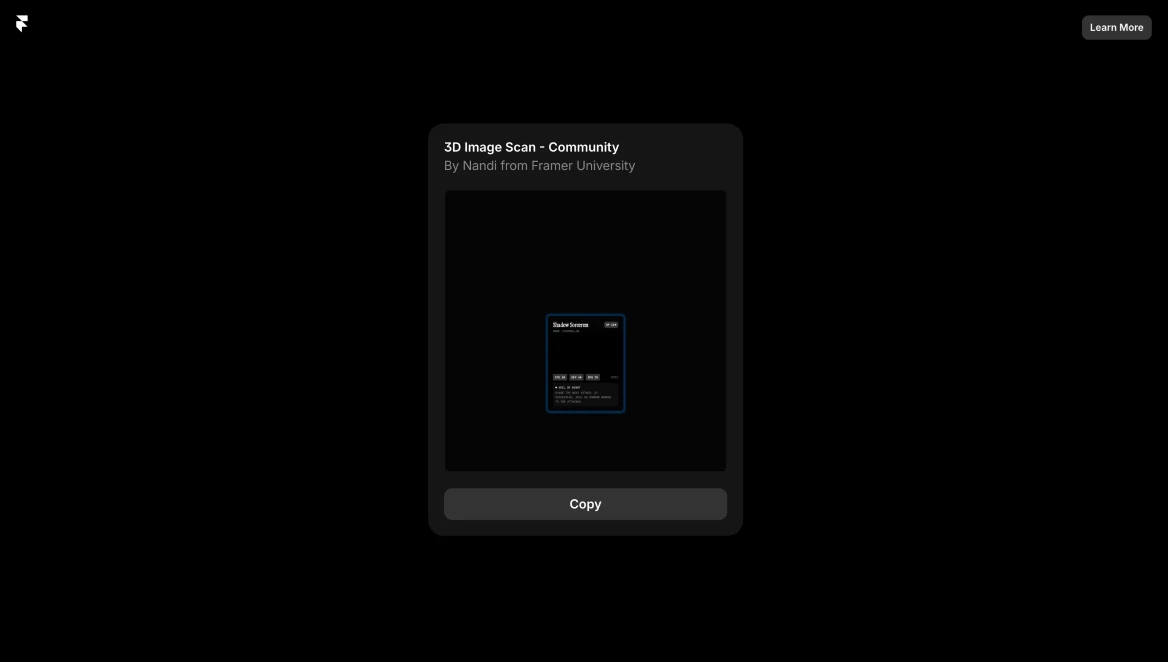
3. Reuse the Framer template with the 3D scan component
Click the link that appears in this headline 👆to duplicate the template created by Framer.University into your own Framer account (this is called a Remix project)
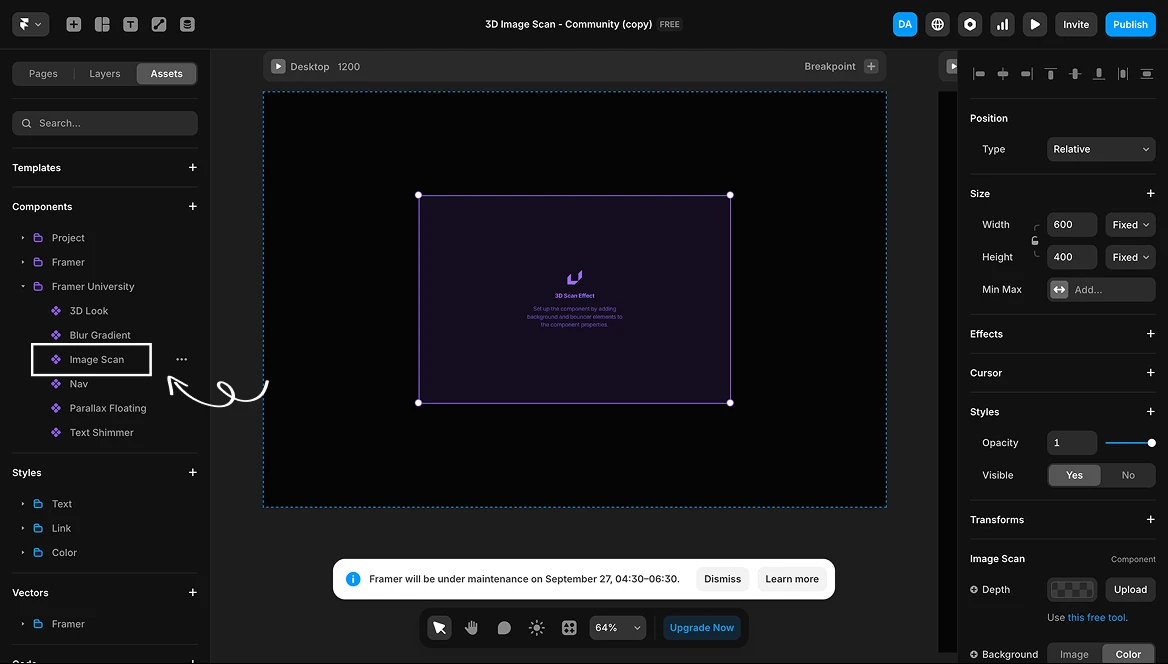
Once copied into your account you’ll find in this project a component or card that allows you to use your character image and the depth map image to give it the 3D scanning effect (parallax effect).
3.1. If your project already comes with the component on the template, you can delete and insert it again to start from scratch. To do that, go to “Assets” at the top left, then open the Components folder “Framer University” and there you’ll find the “Image Scan” component. Drag and drop it into the template as shown in the image 👇
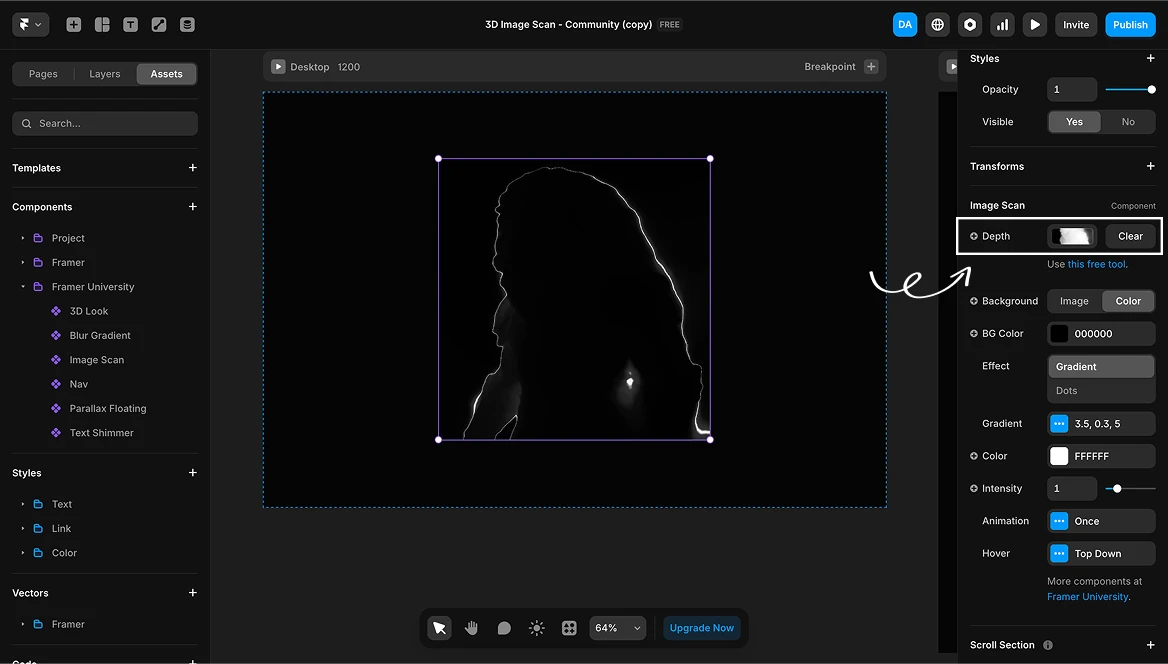
3.2. If you click on the component you’ll be able to edit it in the right panel called “Image Scan”. Upload the image you created with our Depth map tool into the “Depth” button. You’ll see something like this:
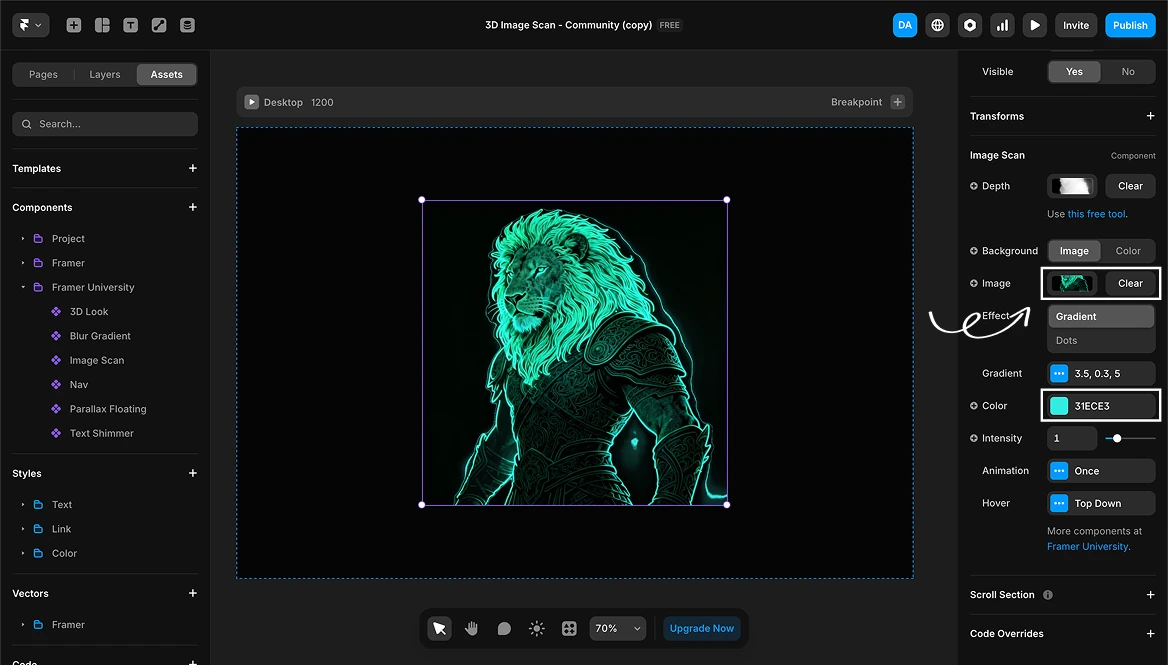
3.3. Now upload the original image into the ”Image” button. Since both images have the same dimensions, you won’t need to edit anything else. We changed the color of the scan effect to green so it would look better.
That’s it! This is the final result:
Mariko - Product Marketing Manager
—
Related reading: